9 Advanced Stream Deck Tips Every Streamer Needs to Know
Unlock the true potential of your Elgato Stream Deck with nine advanced tips and functions to elevate your content creation workflow.
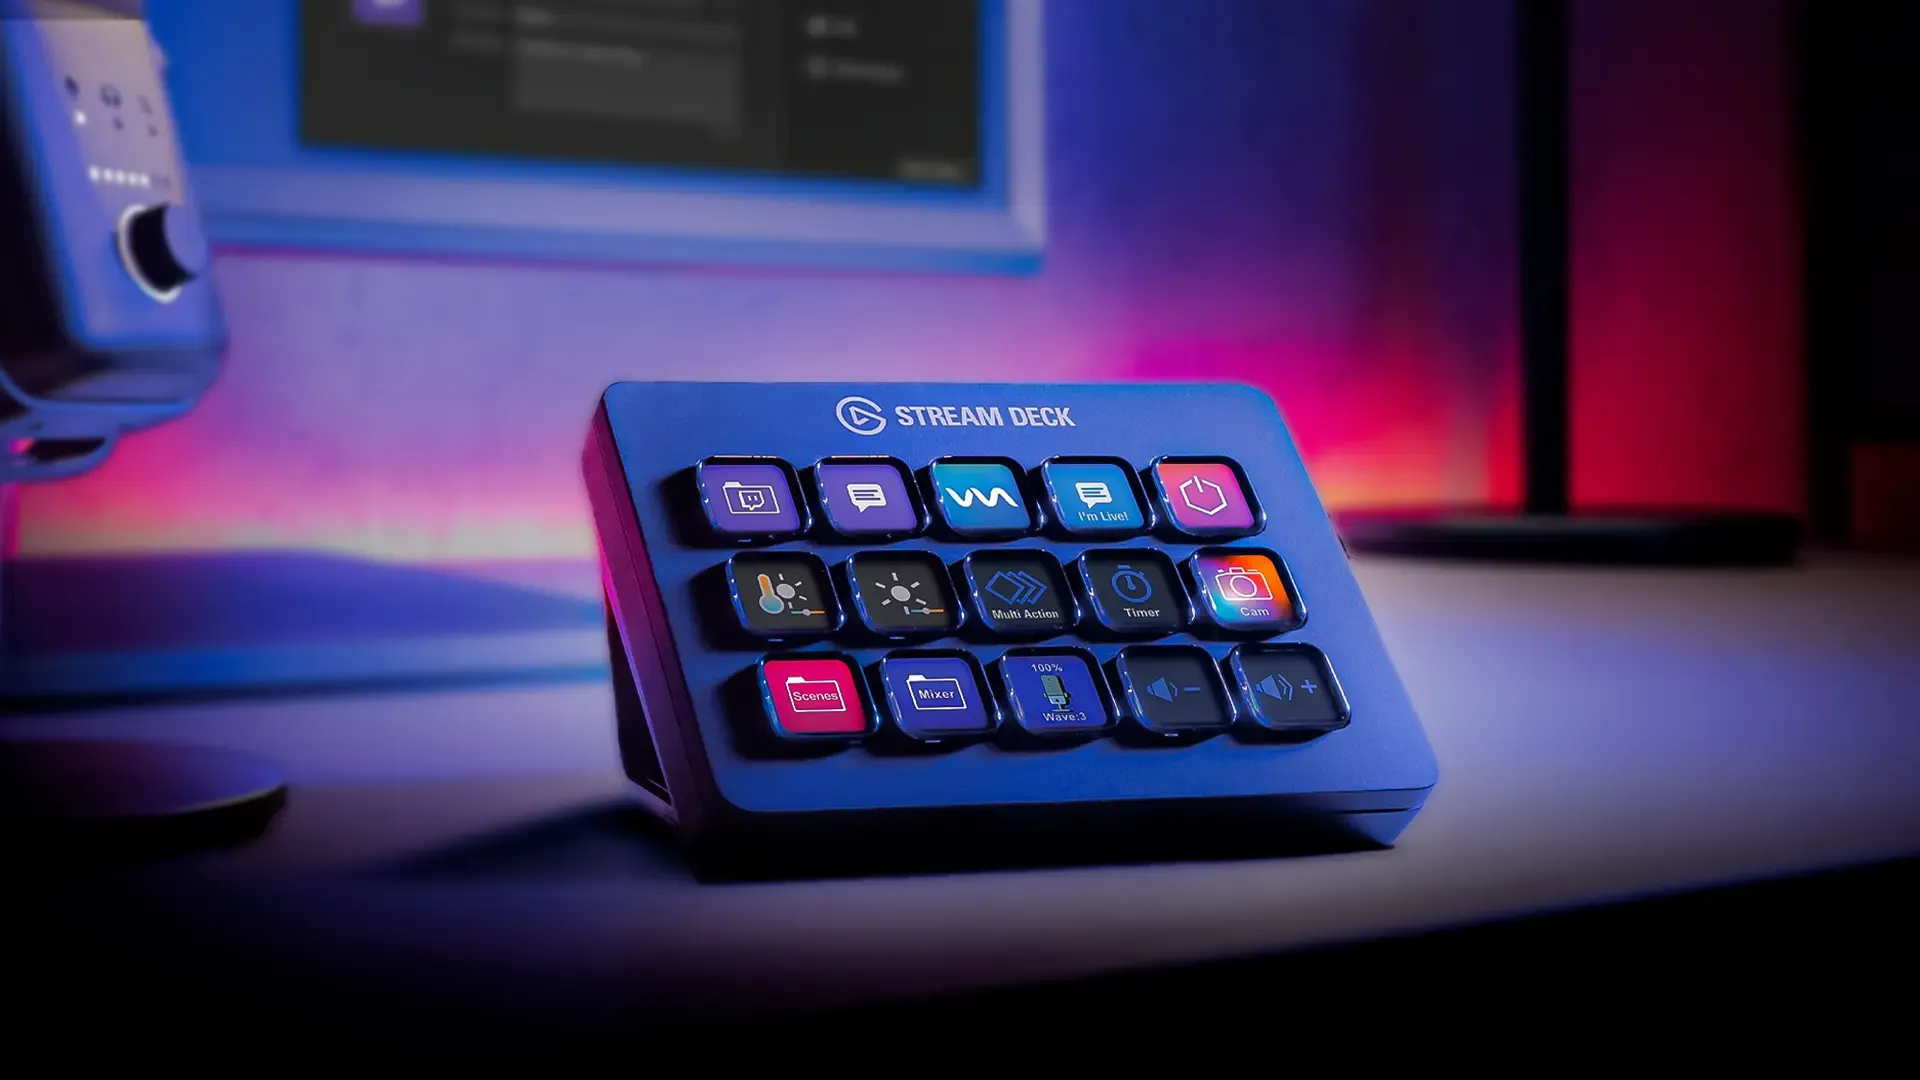
As a content creator or streamer, you’ve likely heard of Elgato’s Stream Deck (opens in a new tab). This compact interface is used by thousands of content creators worldwide to help manage their livestreams.
While there are many tutorials available on how to use the Stream Deck for basic tasks like switching scenes, muting microphones, or moderating chat, there are few resources that explore the device’s advanced capabilities.
In this article, we’ll be sharing some advanced tips and functions that you can easily implement to upgrade your Stream Deck. Whether you’re a seasoned streamer or just starting out, these tips will help you get the most out of your device and take your live broadcasts to the next level. So, let’s dive in!
Launching and Arranging Applications
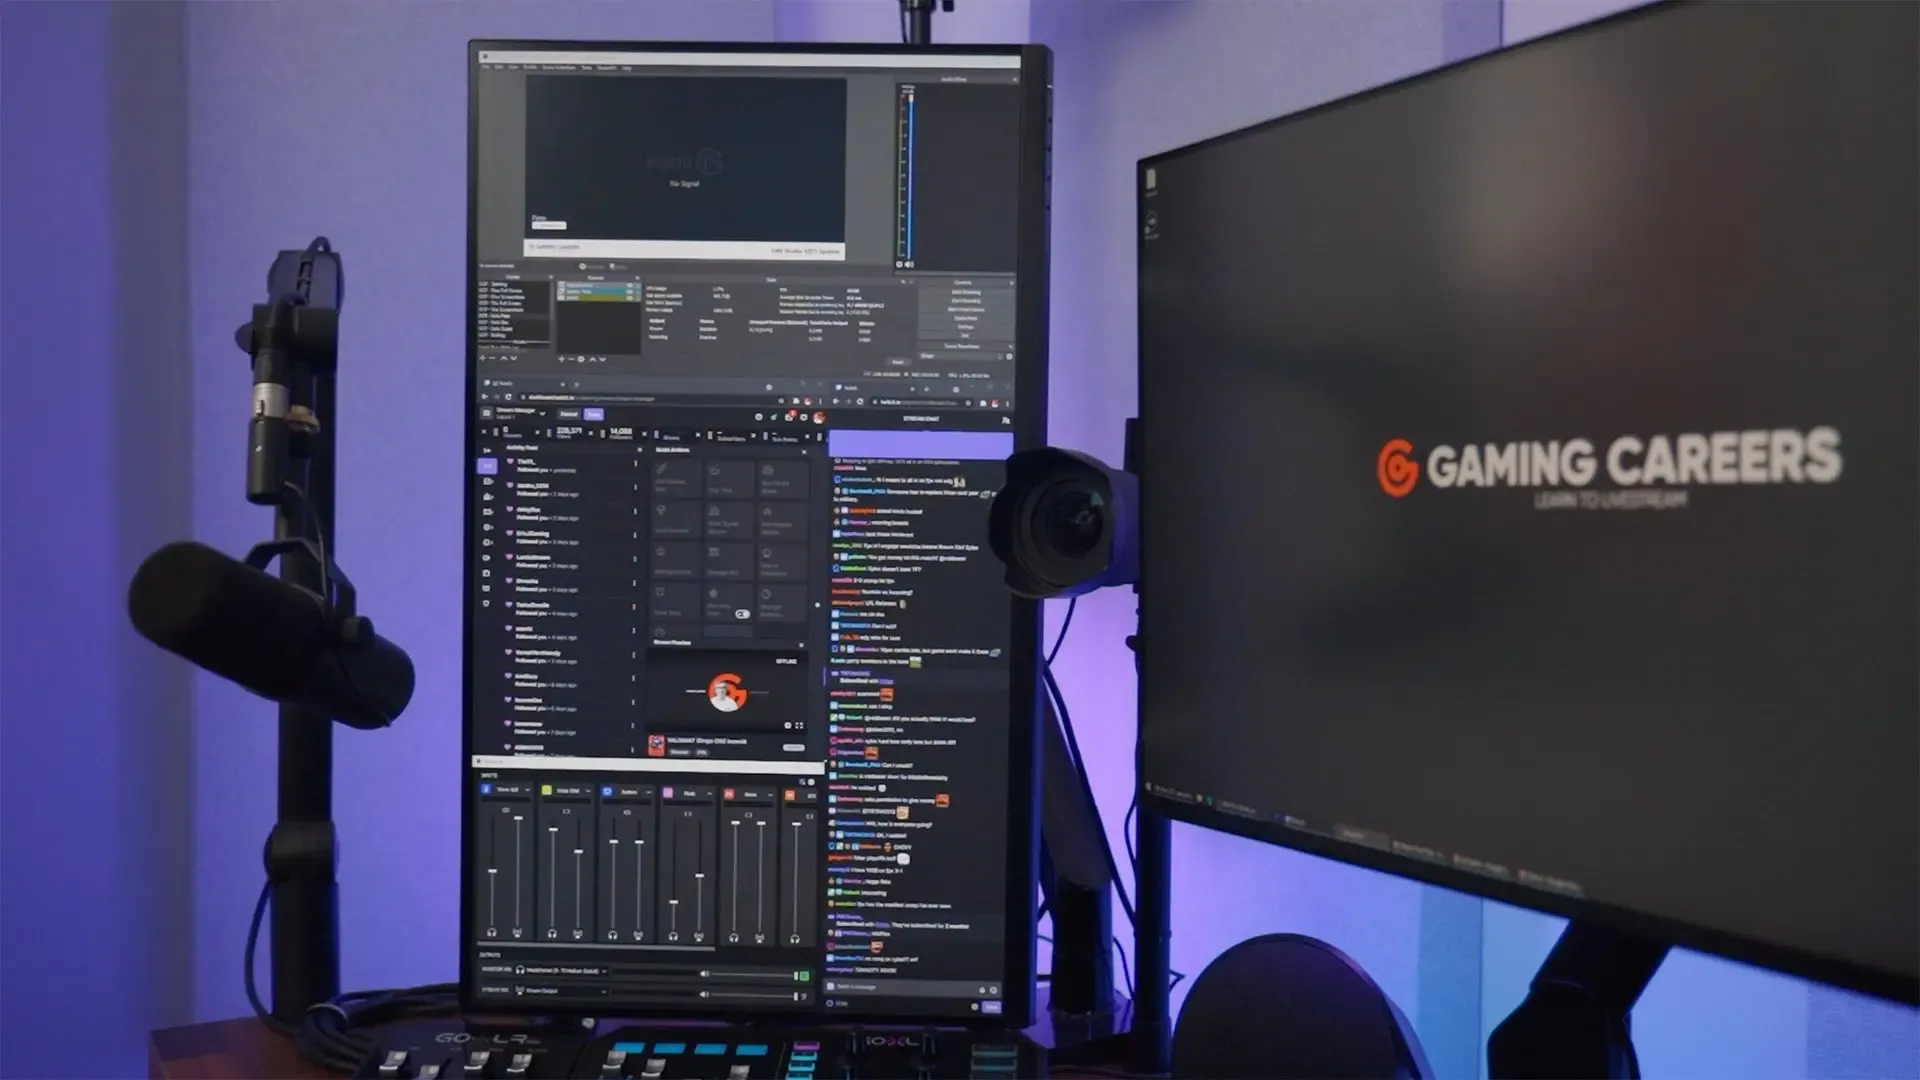
One of the biggest challenges for streamers is managing multiple applications during a live broadcast. If you’re like most streamers, you probably use multiple monitors to keep track of OBS Studio, Twitch chat, Discord, and your music or audio routing software. Arranging and resizing all these windows to perfection can be time-consuming and frustrating.
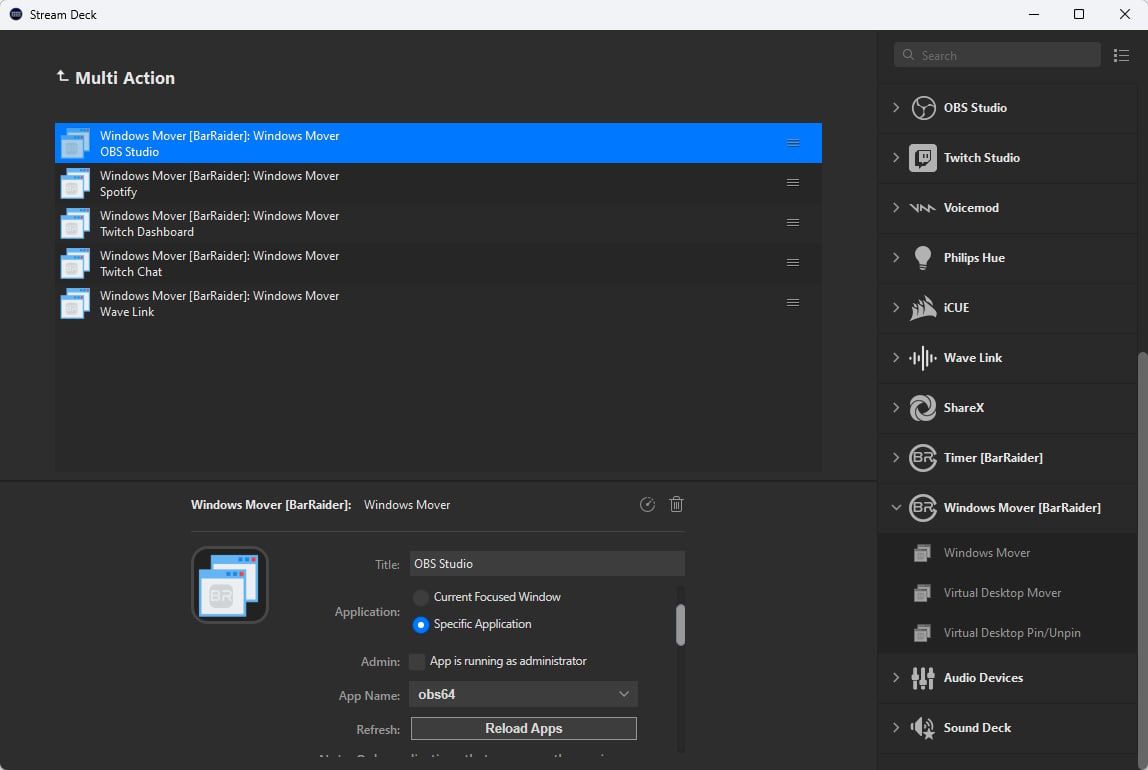
Fortunately, there’s a Stream Deck plugin called Windows Mover (opens in a new tab) that can help. This plugin allows you to save the specific position and size of any open application. The next time you need to use that application, all you have to do is click the corresponding button on your Stream Deck, and it will snap into place.
To make this even more efficient, we recommend creating a Multi Action with several instances of Windows Mover, one for each application you use when streaming. This way, you can position all your applications with just one click on your Stream Deck.
To take it a step further, you can add the launching of these applications to the Multi Action using the System → Open action. However, make sure to add a suitable delay after the launch actions to prevent the move actions from triggering before the applications have finished opening.
With this setup, you’ll have one button for launching and positioning all the apps you need for streaming. This will save you time and help you stay organized during your live broadcasts.
One key press to arrange all your streaming applications
Audio Routing
Managing audio sources during a live broadcast can be a challenge. Fortunately, there are two Stream Deck plugins that can help with audio routing.
The first plugin is Audio Switcher (opens in a new tab). This simple plugin has a Toggle Audio Device action to toggle between two different audio devices. You can use this switch to easily swap between your speakers and headset as the default output on your PC. It’s also useful for switching between different microphone inputs when testing out a new mic or audio interface.
The second plugin, Sound Deck (opens in a new tab), is especially useful for those using software like Wave Link (opens in a new tab), GoXLR (opens in a new tab), RODE Connect (opens in a new tab), or Virtual Audio Cables (opens in a new tab) to route different audio sources to different outputs. Sound Deck has an action called Set App Audio Device that allows you to easily change the audio device used by any application.
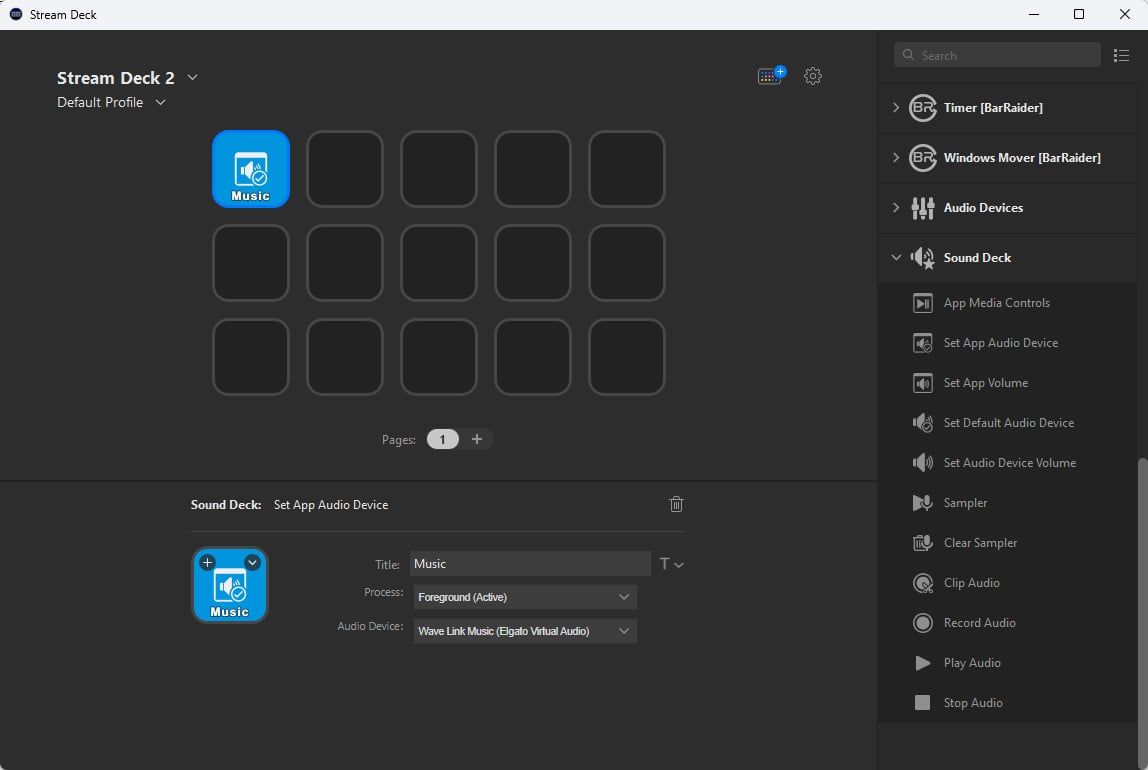
Previously, you had to open up sound settings and manually change the output device used by each application. With Sound Deck, you can change the output device of any focused application to use your preferred audio device with just one button press on your Stream Deck.
For example, you can set up a button to change the output device of Spotify to your Wave Link or GoXLR music channel. You can also set up a button to change the output device of any chat application, such as Discord or Zoom, to your Wave Link or GoXLR chat channel.

With these plugins, you can easily manage your audio devices and set each application to a specific audio output.
Testing Stream Connection
Before going live, it’s essential to check for any issues with your internet connection. You don’t want to disappoint your audience by going live only to discover that you’re dropping frames all over the place. Fortunately, there are Stream Deck plugins that can help make this process super simple.
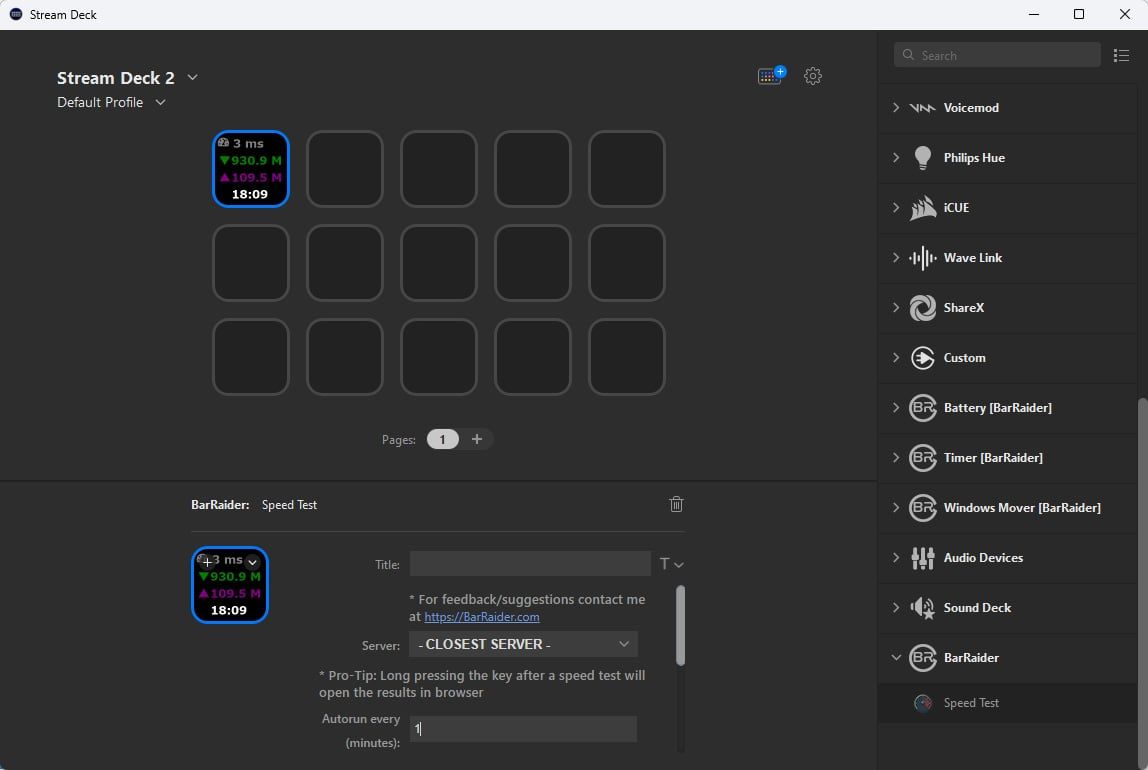
The Speed Test (opens in a new tab) plugin runs a full test on speedtest.net (opens in a new tab) and gives you back the results, showing your average download speed, upload speed, and connection quality. This plugin can help you identify any issues with your internet connection before you go live.
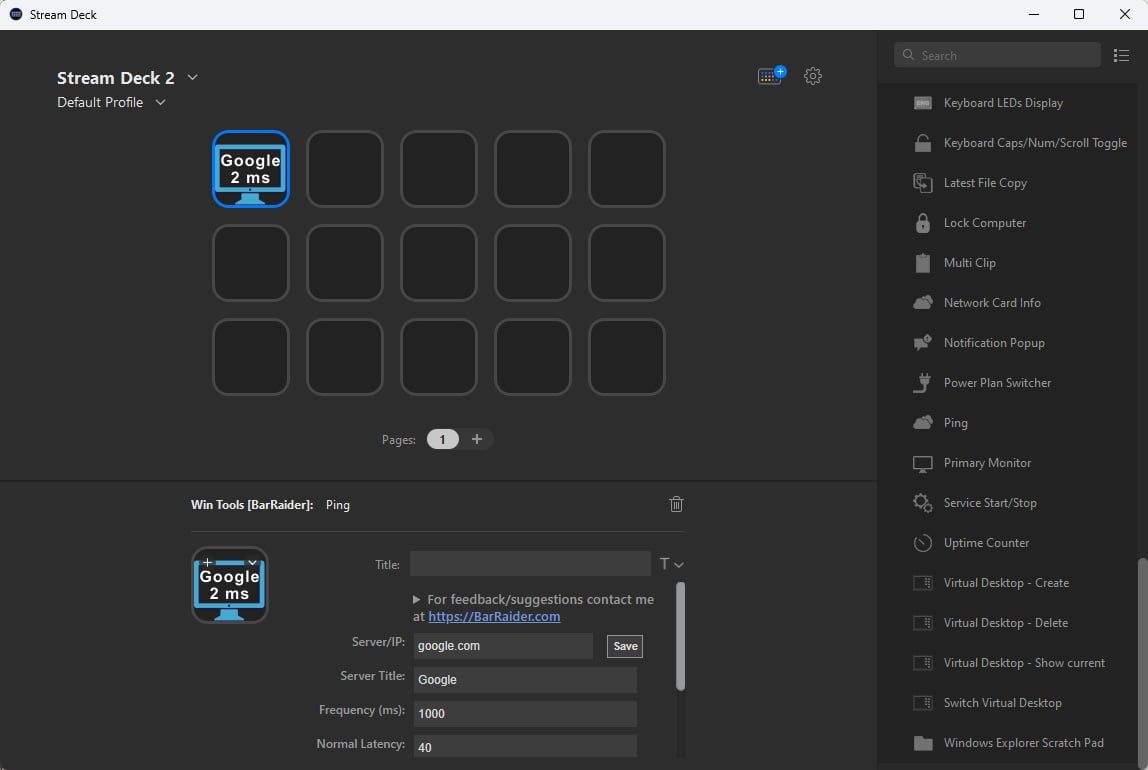
Another plugin that’s particularly useful for Windows users is Win Tools (opens in a new tab). The Ping action can be set up to ping certain IP addresses to test your latency. You can even set custom images to show if the resulting ping is higher than a set threshold. For example, you can set it to go red if your ping to google.com is ever higher than 25ms.
Unfortunately, you can’t currently ping Twitch’s ingest servers to test your connection before going live without going through their API. However, you can still use Win Tools to ping your modem and router. All you need are the IP addresses on your network, and this can help you diagnose any issues before you go live.
By using these Stream Deck plugins, you can easily test your internet connection, identify any issues, and ensure that your live broadcasts are smooth and uninterrupted.
Timers and Counters
Adding a countdown timer to your stream can be a great way to keep your audience engaged. With the Stream Countdown Timer (opens in a new tab) plugin, you can easily create any length timer and display it on your Stream Deck. The plugin can also update a text file that you can add to your streaming software, making it easy to integrate the timer into your stream.
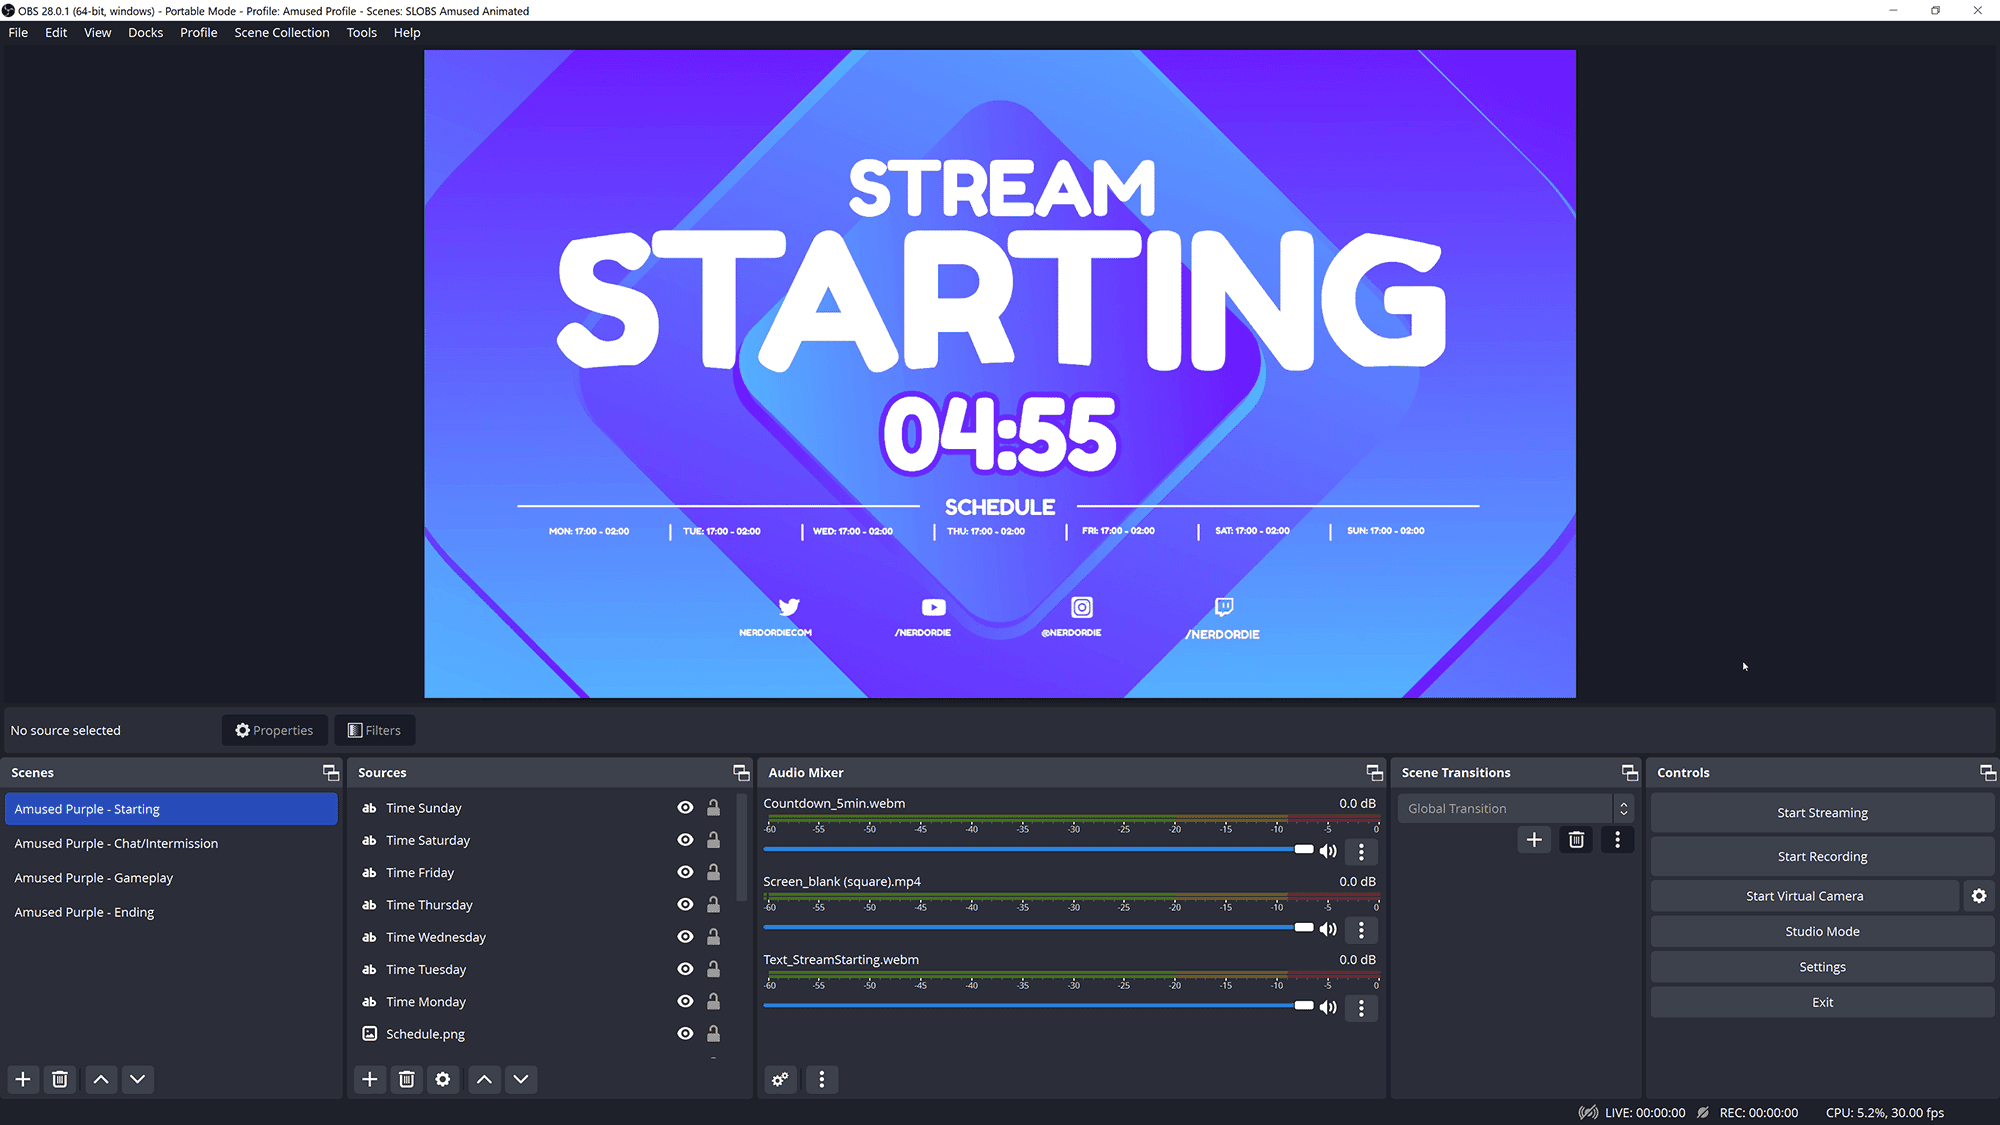
You can choose exactly what is displayed when the countdown ends, and you can also pause and resume timers with a single tap. If you’re running a streaming marathon where the time left increases when you hit certain subscriber thresholds, you can set up the plugin to increase or decrease the timer by a certain amount each time it’s pressed.

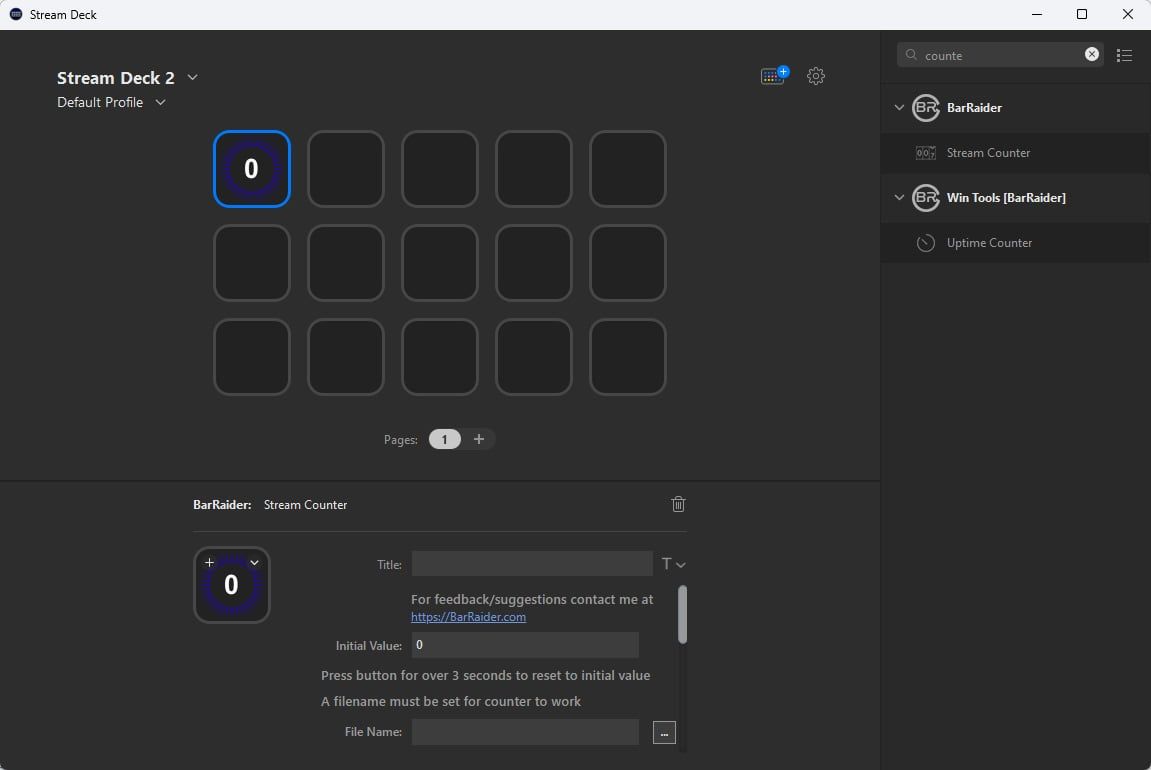
For those who like to display counters like win/loss results or how many deaths they’ve had on their stream, the Stream Counter (opens in a new tab) plugin is a great option. This plugin allows you to keep track of how many times it’s been pressed and output the result to a text file that you can add to your streaming software. This makes it much easier than going into OBS and updating these numbers manually each time.
Flashback Recording
If you use an Elgato capture card to capture your camera, gaming PC, or games console, you can set up Flashback Recording to retroactively save the previous moments as a high-quality video. This feature can be set to save anything from the past 15 seconds to the past 30 minutes.
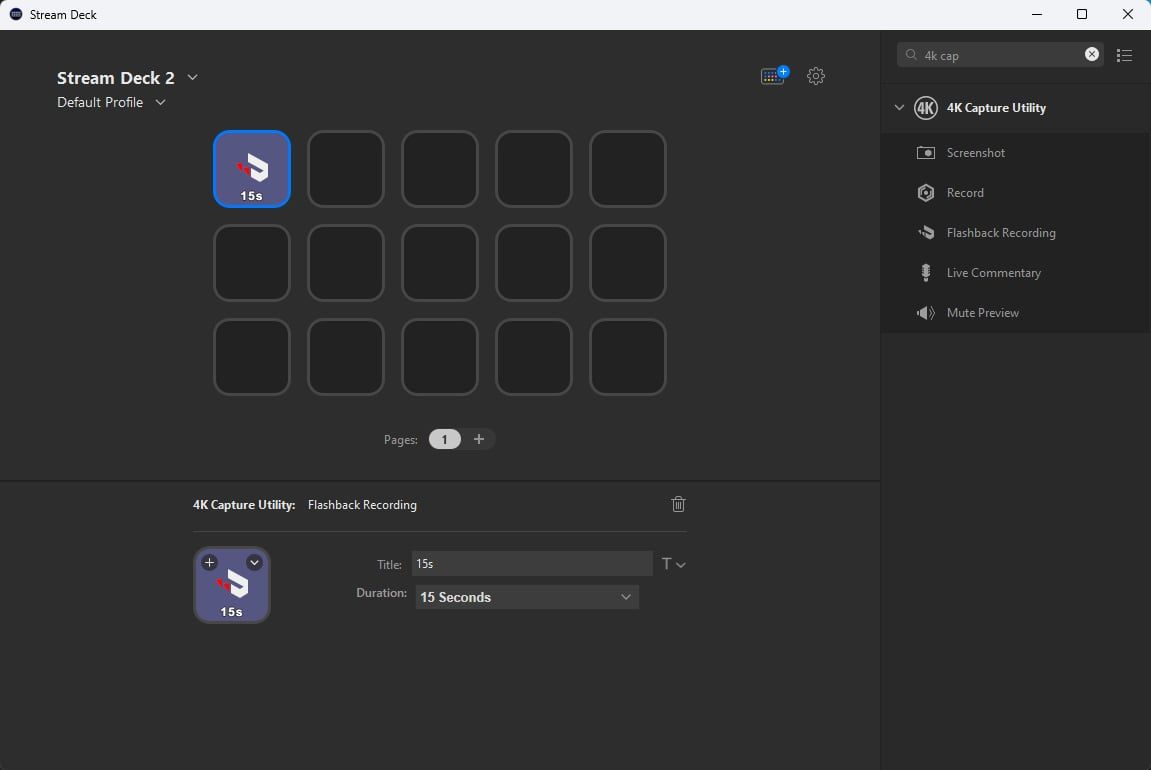
Flashback recording can be particularly useful if you want to repurpose any of your live content for other mediums. Having a full-quality version of your camera feed can be helpful in creating highlight reels or other promotional content.
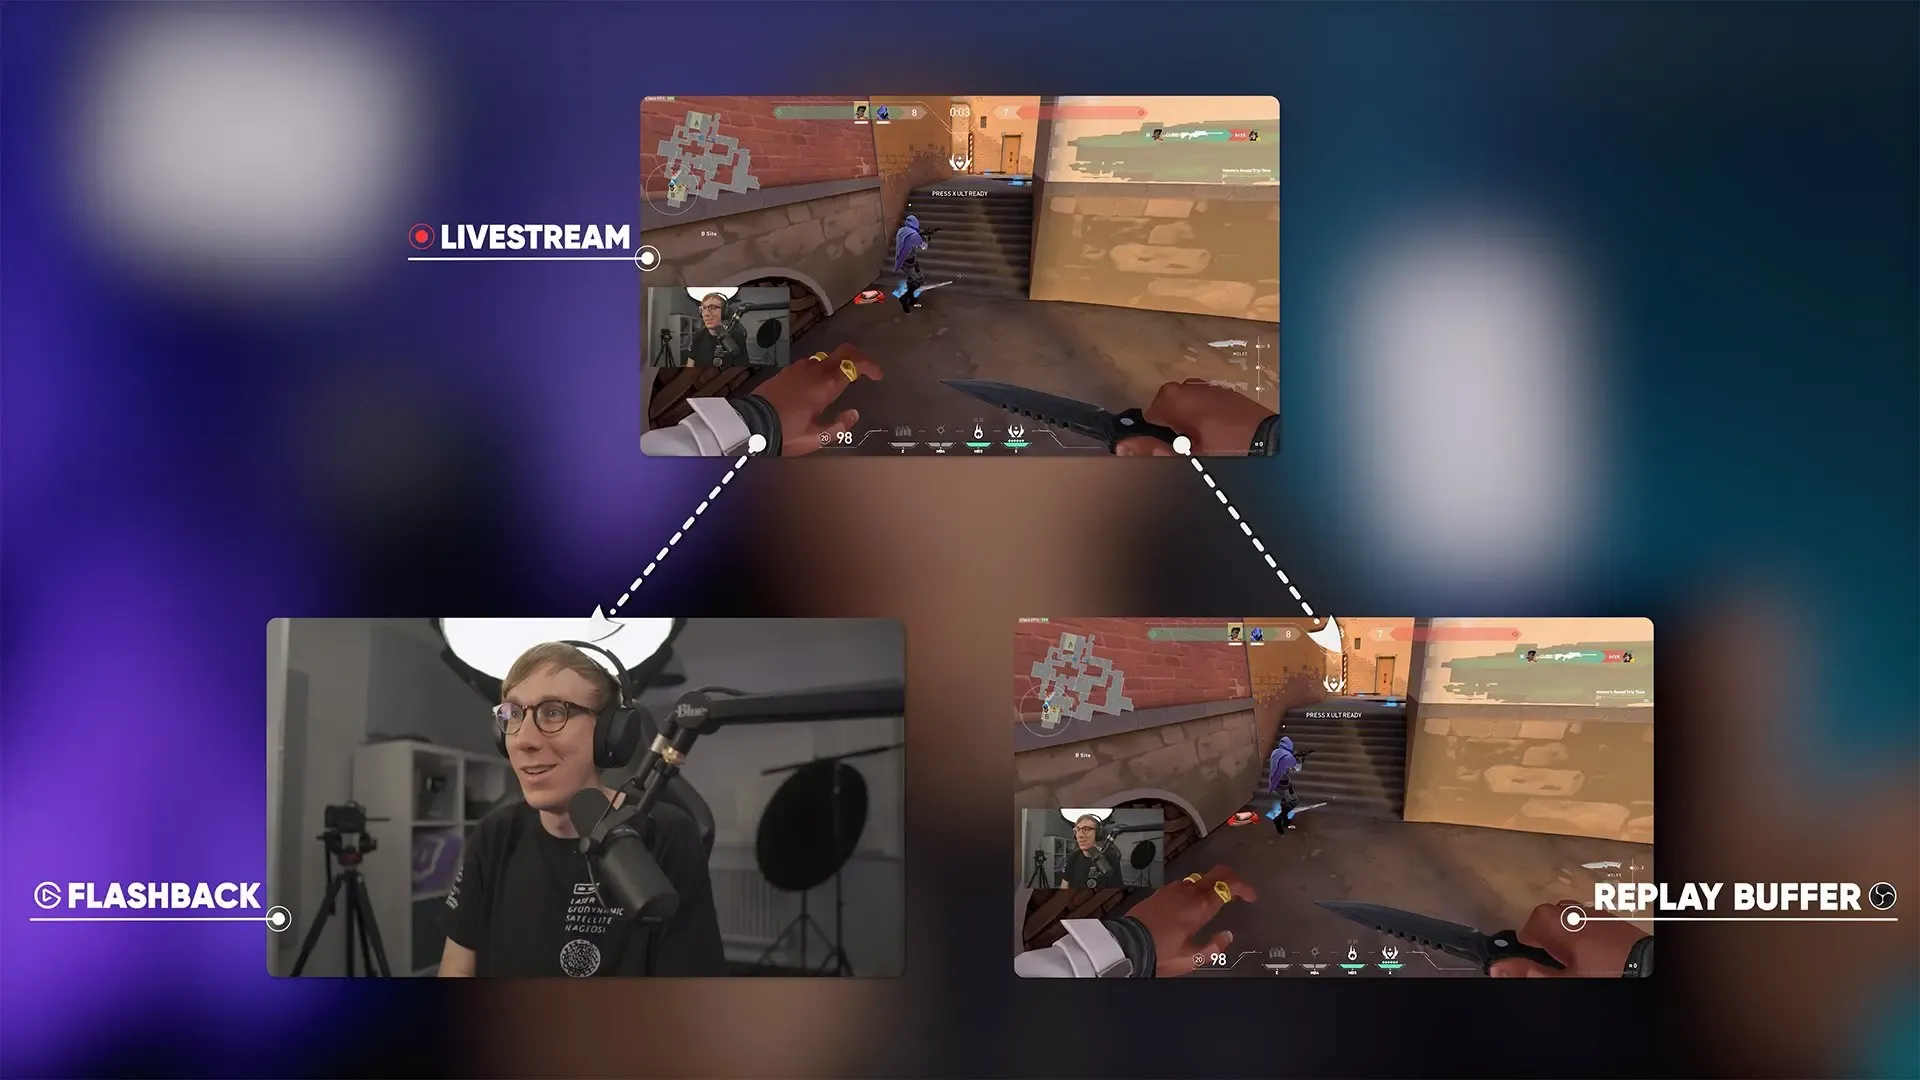
An advanced tip is to set up a Multi Action to save both the flashback recording and OBS Studio’s Replay Buffer simultaneously. This way, you’ll have both the full-quality stream recording and your full-quality camera recording that can be used in your editing software without having to do any reframing or cropping around your small camera.
Raids
Raiding a friend’s channel at the end of your stream with all your viewers is a great way to support other creators and build a sense of community. However, finding a channel to raid and typing in the raid command can be time-consuming and disruptive to the flow of your stream.
Fortunately, there’s a Stream Deck action in the Twitch Tools (opens in a new tab) plugin that makes the process of raiding much simpler. The action is called Live Streamers, and it shows you the number of streamers you follow who are currently live. Clicking on the button opens a folder that displays a preview of all those creators’ streams, including the number of viewers they currently have. Pressing a streamer’s button will then initiate the raid to that streamer.
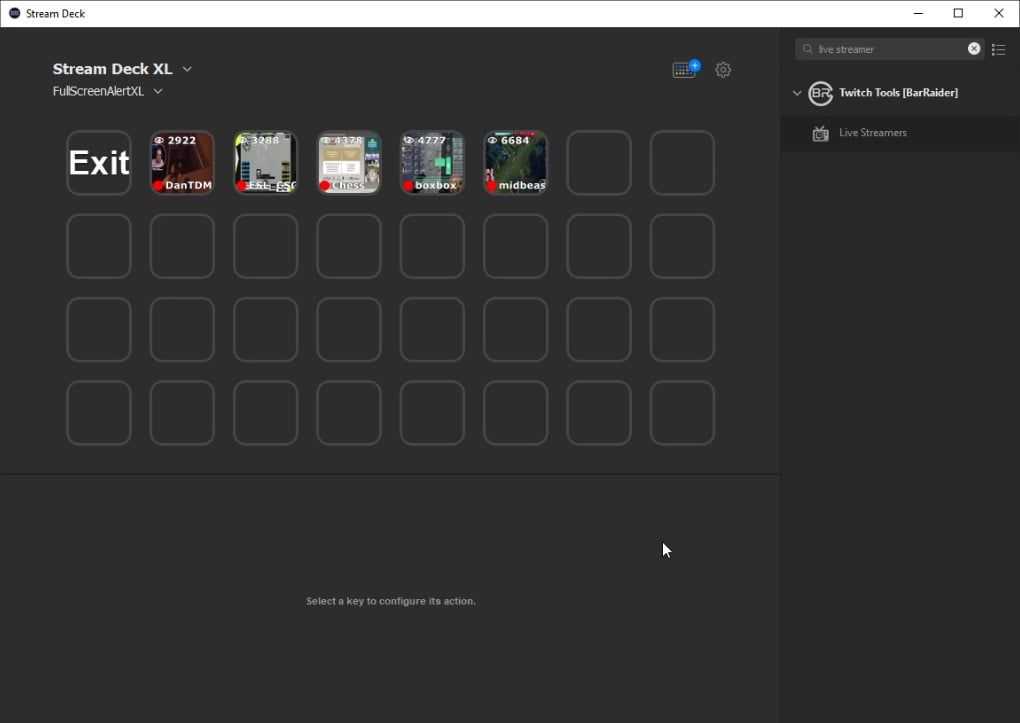
You can also set this action up to host the channel rather than raid them. This process of finding a channel that you follow and typing in the raid command just became so much easier, and the little preview you get can be used to ensure that the streamer isn’t on their BRB scene or Ending scene. This way, you can make sure you’re sending your viewers to the right kind of content.
Camera Settings
If you use one of the many webcams that frustratingly reset all their settings every time you restart your PC, you know how time-consuming it can be to manually set all of the settings like brightness, contrast, gain, exposure, saturation, and white balance every time you want to use your webcam for streaming.
Fortunately, there’s a Stream Deck plugin called Cam Control (opens in a new tab) that can help. With just one press, you can manually set all of your webcam’s settings, including brightness, contrast, gain, exposure, saturation, and white balance. To make this even more efficient, we recommend creating a Multi Action to change several of these settings at the same time.
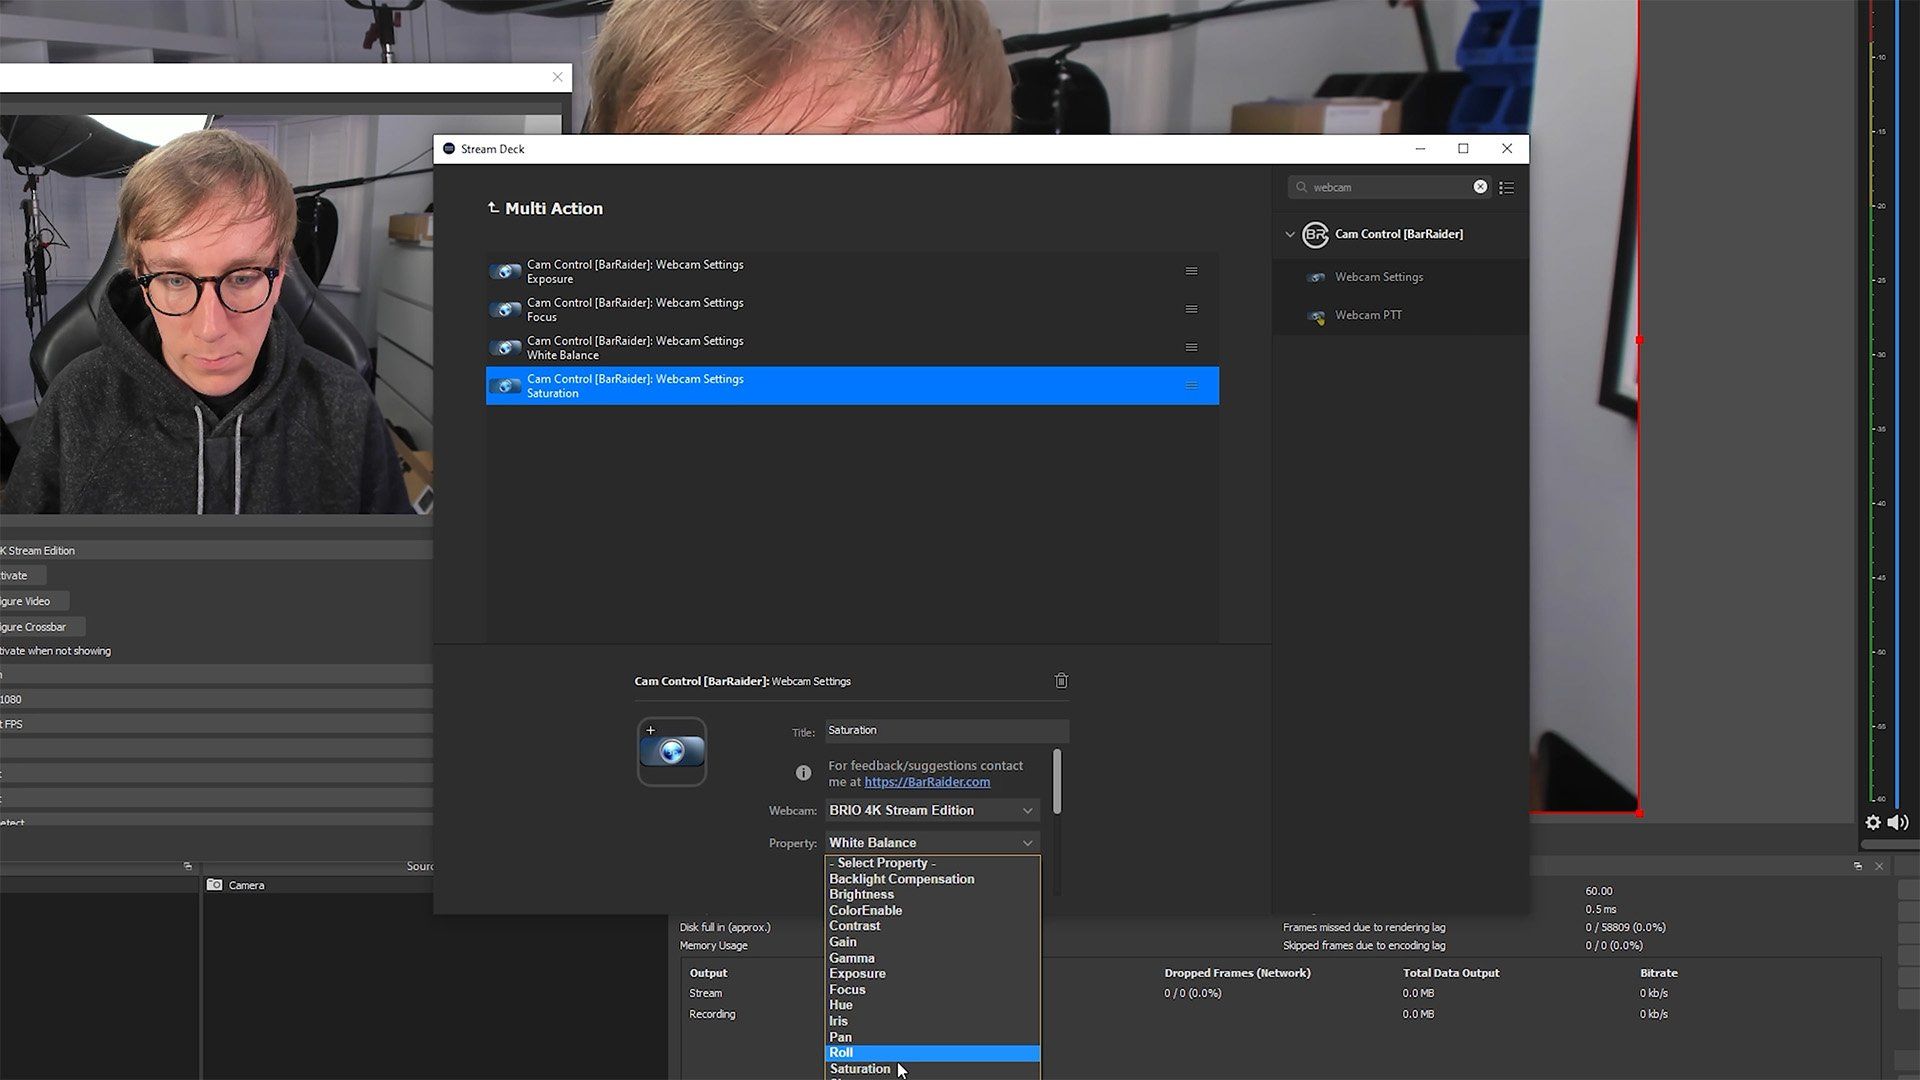
Now, whenever you’re setting up your stream, you can just click one button to have all your webcam settings set exactly as you like them without having to go through and change each option every time. If your lighting conditions aren’t always consistent, you can even set this up to have + and - buttons for each setting, so you can adjust your settings on the fly to suit your needs.
Function Keys
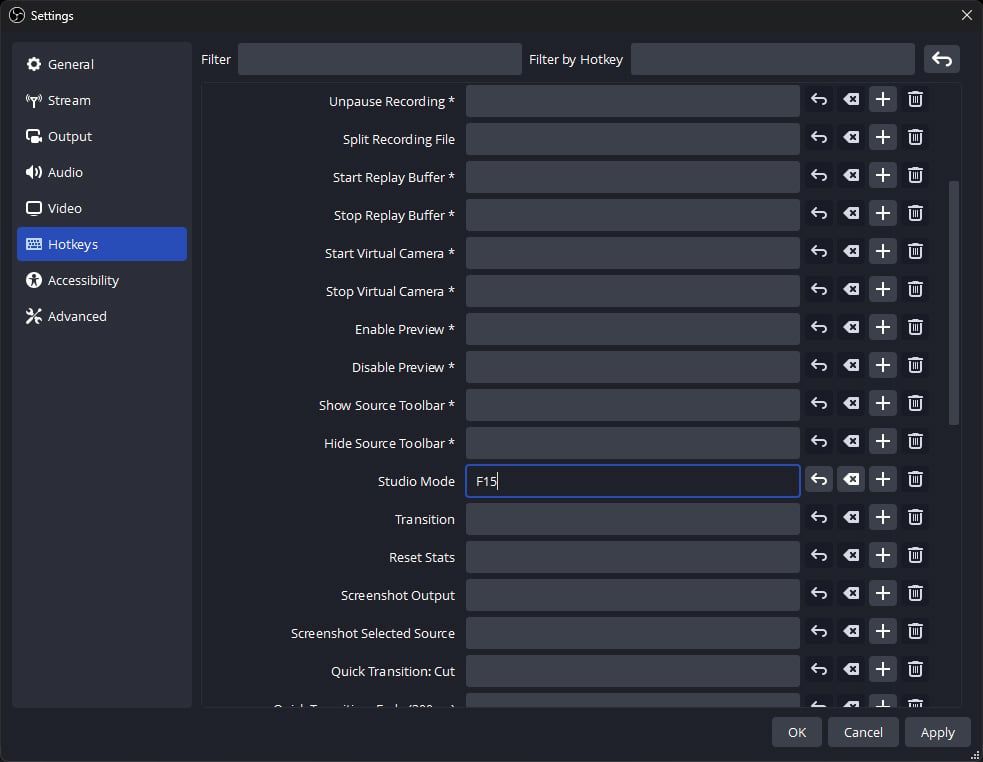
If you ever need controls for an application that supports hotkeys but doesn’t yet have a Stream Deck plugin, there’s a cool tip that can help. Stream Deck has a Hotkey action that allows you to set the button to map to a hotkey. If you select F-Keys, you’ll see that there’s an option to map function keys that you most probably don’t even have on your keyboard, F13 through F24.
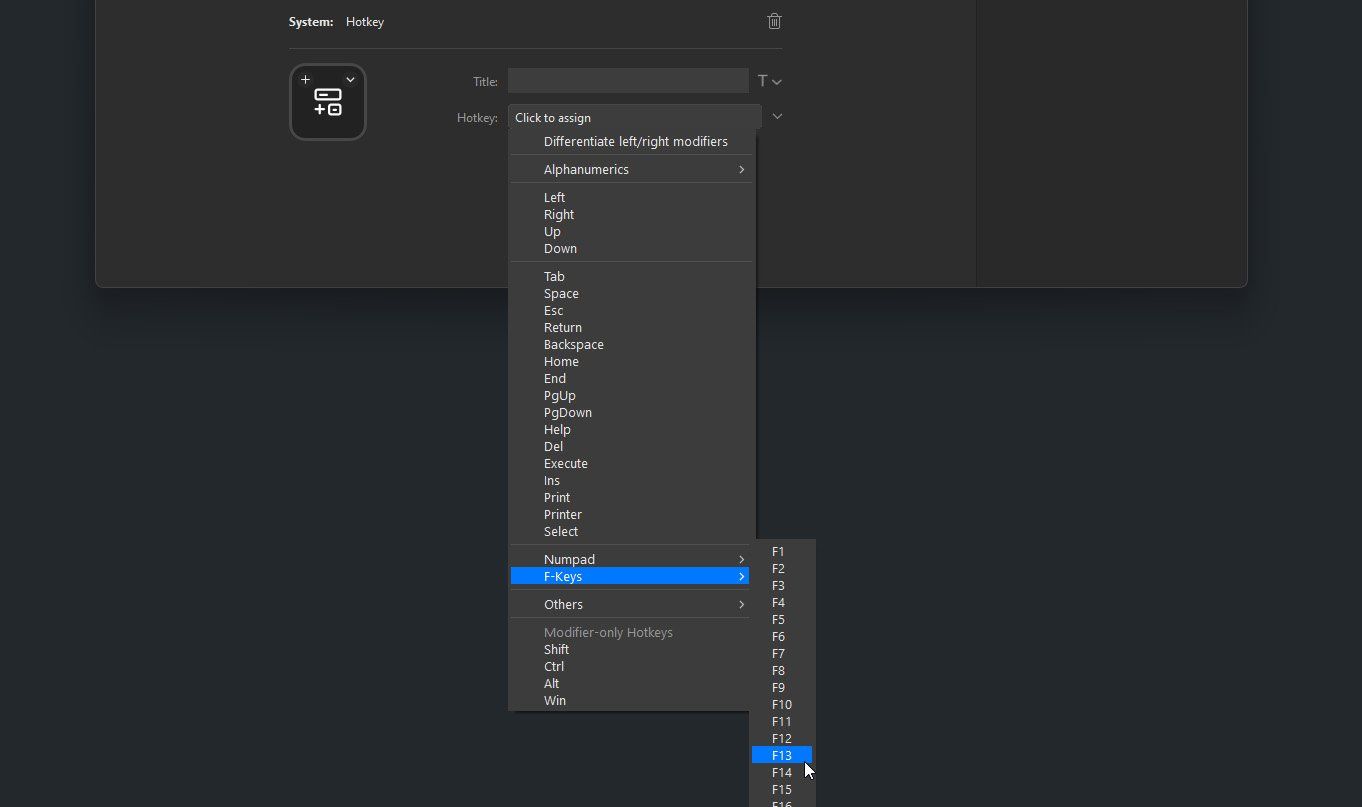
By assigning one of these function keys to your Stream Deck button, you can then head over to any application’s hotkey settings, and then press that Stream Deck key and get the exact functionality you want. This is a great solution for applications that don’t have native Stream Deck support.
Additionally, if you use a TKL keyboard or smaller and don’t have a numpad, you can assign even more hotkeys to your Stream Deck using these function keys. This way, you’ll never accidentally hit these hotkeys on your keyboard, and you’ll have even more control over your applications.
Multi Actions
Multi Actions are a powerful feature of Stream Deck that can help you streamline your workflow and make your live broadcasts more efficient. Here are three examples of Multi Actions that can be useful:
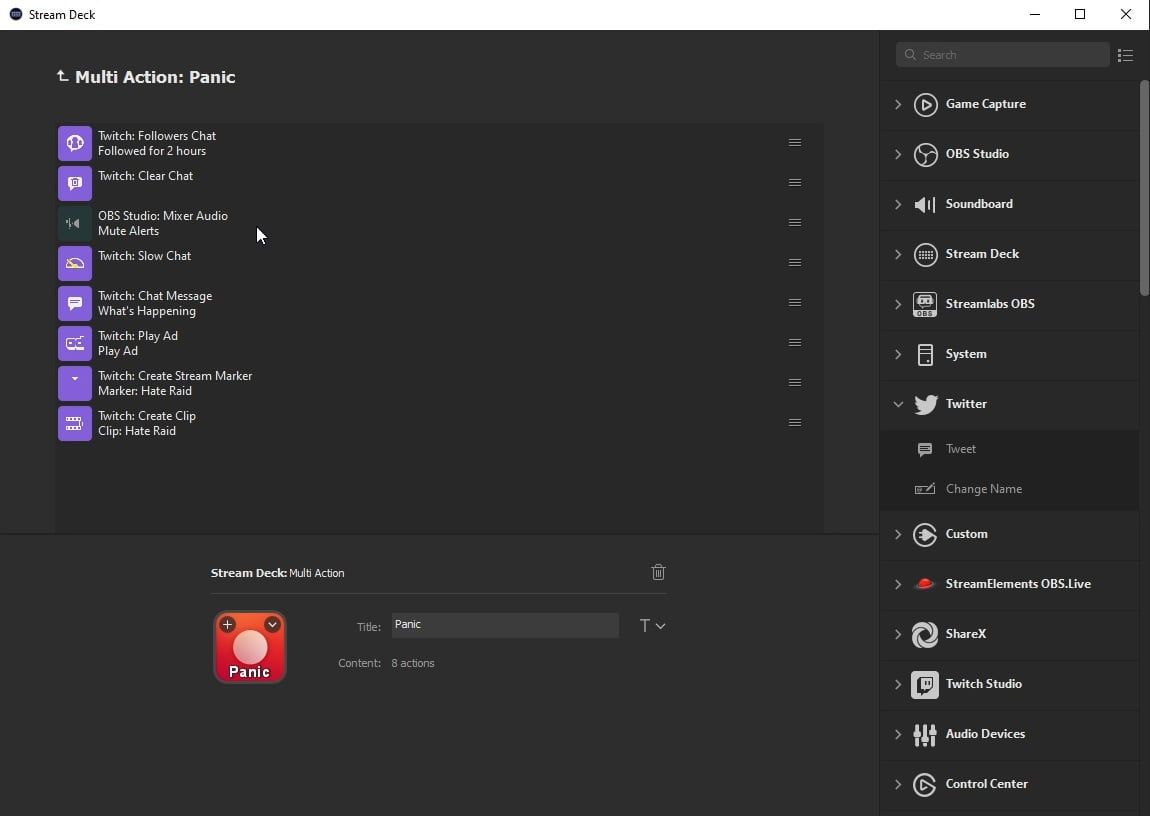
- Hate Raids are a big problem on Twitch right now, and it’s important to have a plan in place to deal with them. It can be worth setting up a panic button that you can hit as soon as you see a Hate Raid happening on your channel. This button can automate the process of locking down your chat quickly to protect your community.
Set Chat to
Follower-OnlyClearChat HistoryHideAlerts sourceSet Chat toSlow ModeSend achat messageto explain what’s going onCreateStream MarkerCreateClip - Set Chat to
Follower-Only - Clear
Chat History - Hide
Alerts source - Set Chat to
Slow Mode - Send a
chat messageto explain what’s going on - Create
Stream Marker - Create
Clip
- If you use different lighting products during your live broadcasts, you can create a Multi Action that combines all of them into one button. This way, you can quickly and easily adjust your lighting settings without having to switch between different applications or devices. Elgato Control CenterPhilips HueiCUENanoleafLIFXCololight
- Elgato Control Center
- Philips Hue
- iCUE
- Nanoleaf
- LIFX
- Cololight
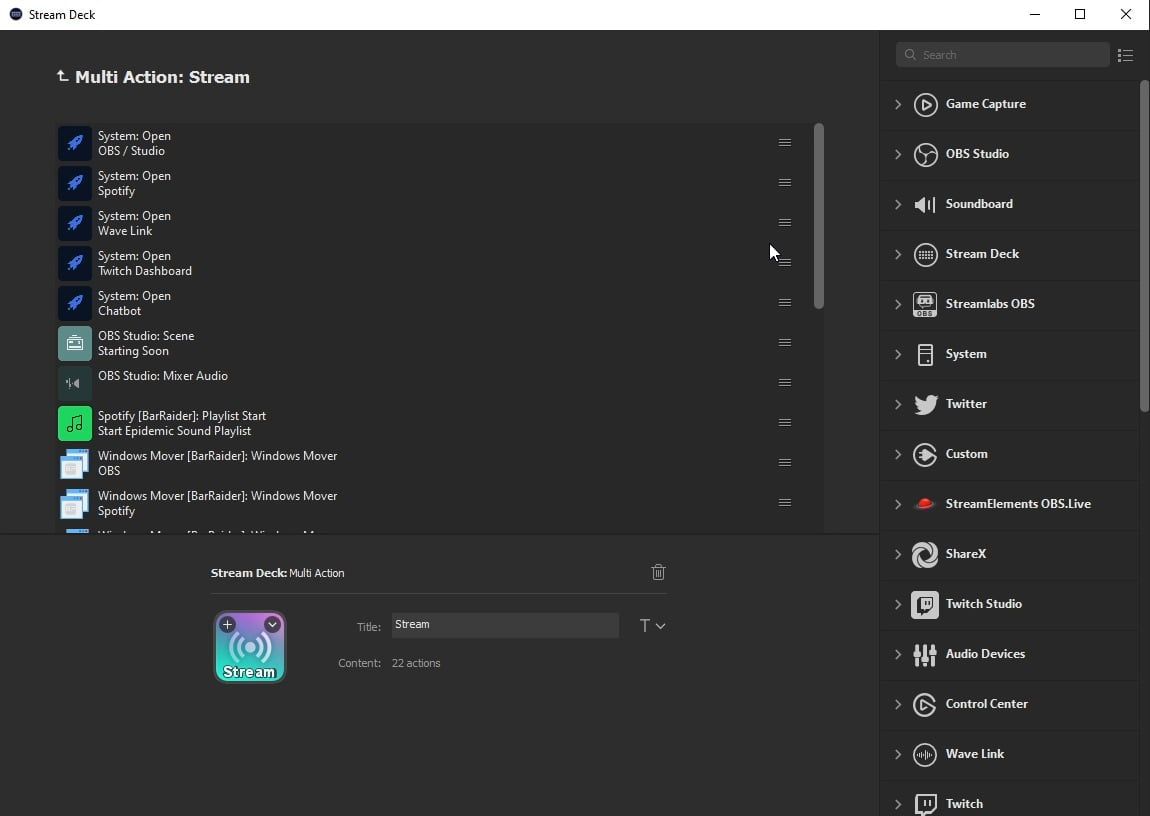
- Finally, you can create a Multi Action that starts your stream with just one button. This can include launching your streaming software, setting up your audio and video settings, and connecting to your streaming platform.
LaunchOBS, Chatbot, Spotify, Twitch Dashboard, etc.Changes toStarting SoonsceneMutemicrophonePlayDMCA music playlist andset Spotify volumeArrange applications withWindows MoverStart a 5-minute countdown usingStream Countdown TimerStart StreamingandStart Recordingin OBSChange Twitter usernameto LIVEPost Going Live GIFto Discord LaunchOBS, Chatbot, Spotify, Twitch Dashboard, etc.- Changes to
Starting Soonscene MutemicrophonePlayDMCA music playlist andset Spotify volume- Arrange applications with
Windows Mover - Start a 5-minute countdown using
Stream Countdown Timer Start StreamingandStart Recordingin OBSChange Twitter usernameto LIVEPost Going Live GIFto Discord
Summary
The Stream Deck is a powerful tool that is often under-used by content creators and streamers. With the advanced tips and functions we’ve shared in this article, you can upgrade your Stream Deck and take your live broadcasts to the next level.
From managing multiple applications to testing your internet connection, setting up countdown timers and counters, flashback recording, raids, camera settings, function keys, and multi-actions, you now have a wealth of knowledge at your fingertips.
So why not give them a try and see how they can help you save time, stay organized, and provide your viewers with an even better experience?
Check out the latest release from Elgato, the Stream Deck Plus, in our comprehensive review.
Video Guide
As with all of our guides, below we have included a full video tutorial if that is your preferred method of learning.